

The chat widget is available to library owners who have claimed their library.
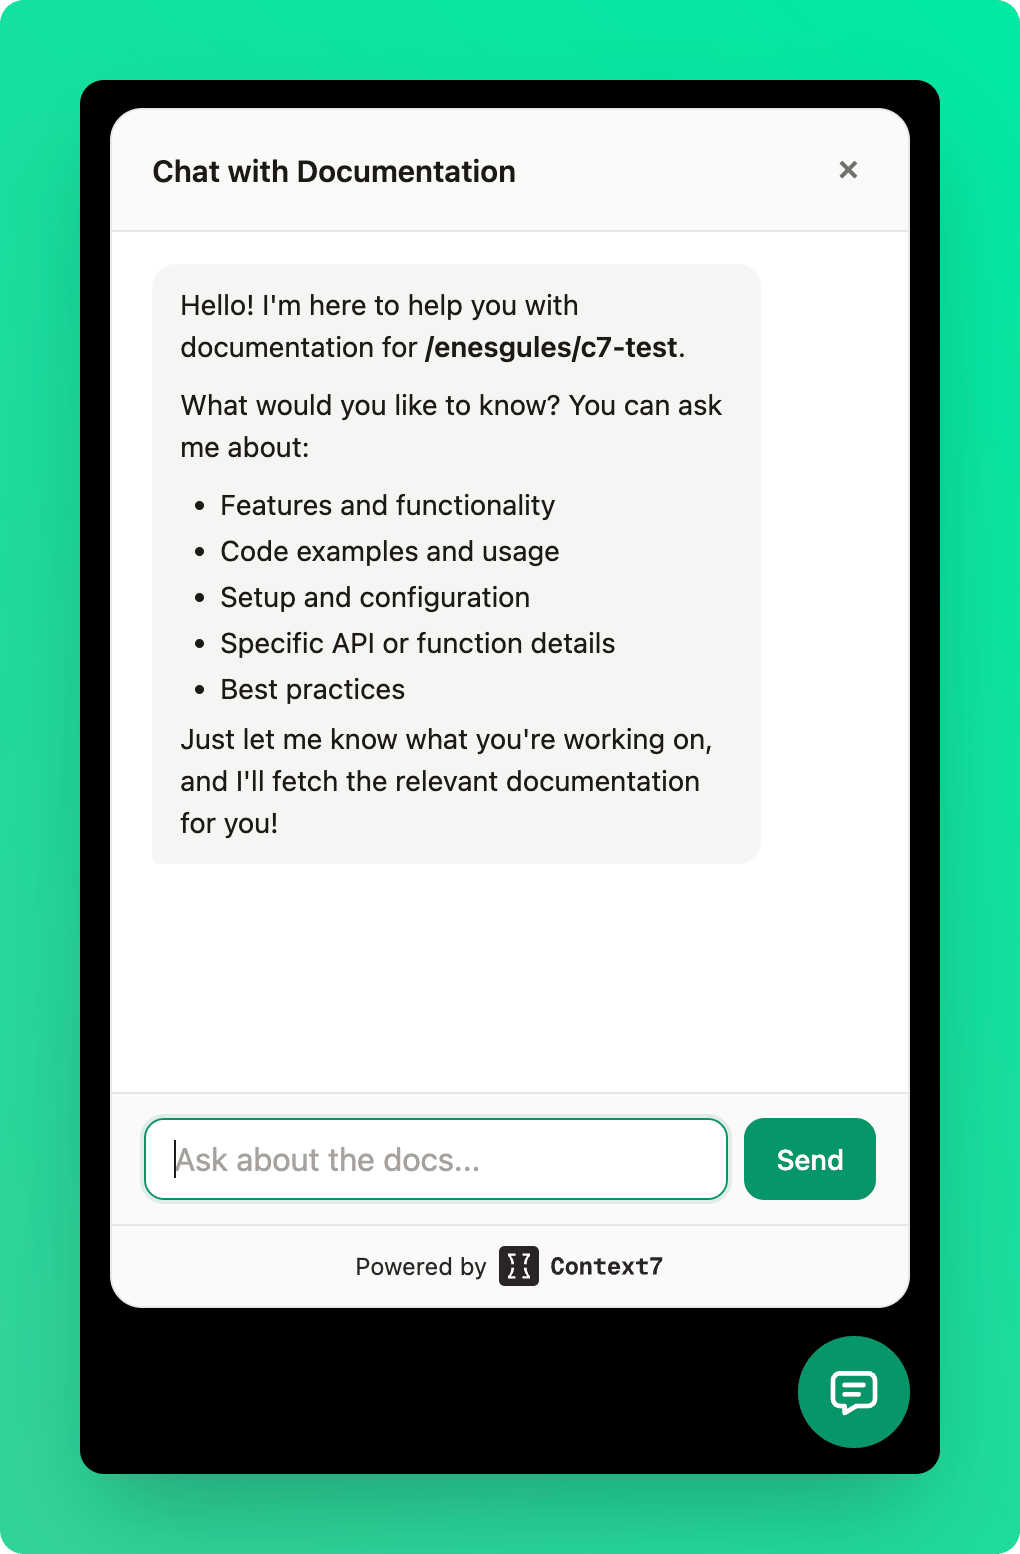
How It Works
- A visitor clicks the chat bubble on your site
- They type a question about your library
- The widget searches your library’s documentation on Context7
- An AI model generates an answer using the relevant documentation
- The response streams back in real time with markdown formatting
Setup
1
Claim Your Library
You must be a verified owner of the library on Context7. If you haven’t claimed it yet, follow the Claim Your Library guide.
2
Enable the Widget
Navigate to your library’s admin page:Open the Chat tab and toggle Widget enabled on.
3
Add Allowed Domains
Add the domains where the widget will be embedded. The widget will only work on domains you explicitly allow.Examples:
docs.example.com— exact domain match*.example.com— matches all subdomains (e.g.,docs.example.com,blog.example.com)example.com— matches the root domain only
4
Save Settings
Click Save to persist your widget configuration.
5
Add the Script Tag
Copy the embed code from the admin panel and add it to your site’s HTML:Place this tag in your root layout or HTML file so the widget loads on every page. The script loads asynchronously and does not block page rendering.
Adding with AI
You can use an AI coding assistant to add the widget automatically. Copy the following prompt and paste it into Claude Code, Cursor, or any AI coding assistant. Replace/owner/repo with your library ID. The assistant will detect your framework and place the script tag in the correct location.
Framework Examples
- Next.js
- Docusaurus
Use the
next/script component in your root layout so the widget loads on every page:app/layout.tsx
Customization
The widget supports optional attributes for customization:Examples
Custom color and position:Position Options
Domain Configuration
Allowed Domains
You can configure up to 20 allowed domains per library. The widget validates the requesting origin against this list on every chat request.Domain validation is enforced server-side. Requests from domains not in your allowed list are rejected with a 403 error.
Adding and Removing Domains
Manage domains from the Chat tab on your library’s admin page:- Click Add domain to add a new entry
- Enter the domain (e.g.,
docs.example.comor*.example.com) - Click Save to apply changes